In-line, non-contact metrology tool measures total glass thickness, flatness, and total thickness variation.
Description
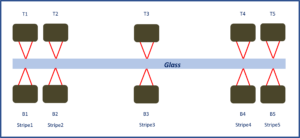
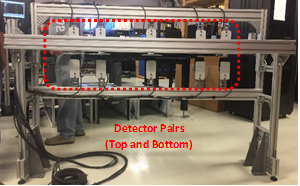
The kSA Glass Thickness and Flatness Tool is an in-line, non-contact metrology tool that measures total glass thickness, flatness (bow, warp, etc.), and total thickness variation (TTV). The tool utilizes 10 laser-based height sensors (5 above and 5 below) to measure at 5 positions along the width of the glass panel. The software deduces bow, warp, and TTV measurements from the individual height measurements and derives the glass thickness from the measured surface heights after the system is calibrated to known thickness standards.
Details
- Colinear laser sensors determine the panel thickness by measuring the panel height on top and bottom. As such, vertical movement/bounce of the panel does not affect the measurement, because the delta height measurement accounts for the height offset.
- The software deduces bow, warp, and TTV measurements from the individual height measurements.
- Standard systems include 10 probes per tool (5 top and 5 bottom, for 5 stripe positions).
Benefits
- Documented compliance with applicable glass thickness and bow/warp standards (ASTM, ANSI) ensures consistency across all glass lites and panels.
- Real-time data allows for immediate validation of glass thickness and bow/warp across the panel.
- Fully customizable system (hardware and software) enables users to configure the system to fit their specific needs.
- In-process QC validation ensures that all lites and panels conform to the custom master reference substrate (thickness and flatness baseline).
- The ability to see changes in glass thickness and distortion prevents non-compliant product from entering the process flow.
- Factory integration capabilities enable facilities to incorporate the tool into existing systems (factory alarms, PLC, email alerts, etc.).
Capabilities
- Scans clear or coated single glass lites or multiple glass panel assemblies with interlayers (glass offset) of thicknesses ranging from 2 to 12 mm
- Measures in situ thickness with +/- 5 µm accuracy
- Supports conveyor line speeds ranging from 1 to 36 m/min (balanced against resolution/accuracy requirements)
- Supports distances of up to 60 mm +/- 5 mm from the detector to the glass edge
- Includes a built-in calibration process
- Uses a customizable master thickness and flatness reference from a control sample to determine pass/fail limits
- Allows for customizable measurement locations (5 sites possible) and alignment across conveyor based on needs and requirements
- Identifies inline Panel IDs/Barcodes
- Inspects lites and assemblies to rapidly detect non-compliant thickness and flatness based on preset limits
- Captures, analyzes, and stores data using proprietary k-Space software
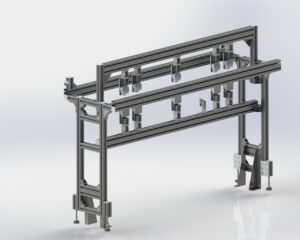
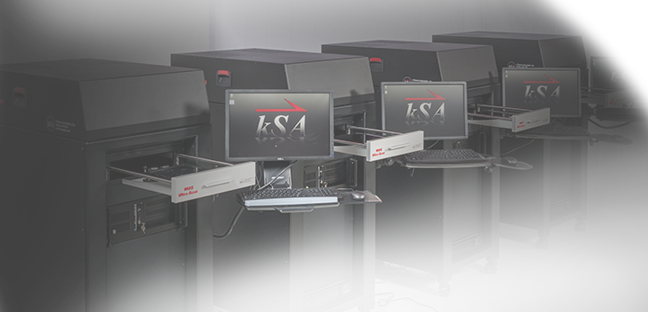
All of this is done through the kSA Glass Thickness and Flatness system, which includes the frame with detectors and a standalone electronics cabinet that houses the rackmount CPU, monitor, keyboard, and mouse.
Technology
- The tool uses 10 laser-based sensors (5 each for top and bottom positions) at 5 set positions, or “stripes,” across the conveyance system.
- The laser pairs measure the distance or height to the glass surface top and bottom to calibrated and known thickness standards for that glass panel as it passes through the system.
- The laser signals then produce real-time glass thickness feedback through k-Space’s proprietary software to provide both immediate viewing in the electronics cabinet as well as data acquisition to the database.
- Users can see the pass/fail status in real-time through comparison of the acquired data against master thickness and flatness criterion, or they can use the stored data for deeper QC analysis of the desired dataset.


